Difference between revisions of "Build"
From SatNOGS Wiki
(Add link to 'Raspberry Pi 3' page) |
|||
| Line 17: | Line 17: | ||
! Antenna | ! Antenna | ||
|- | |- | ||
| − | | Raspberry Pi 3 | + | | [[Raspberry_Pi_3|Raspberry Pi 3]] |
| SatNOGS Client | | SatNOGS Client | ||
| SatNOGS Controller | | SatNOGS Controller | ||
Revision as of 18:37, 29 August 2017
Intro
Thanks for your interest on building a satellite ground station! First things first you need to understand all the different components of a ground station. Head over to # to read more about ground stations. Once you familiarized yourself with all the components you need to make a selection on what you are going to be building (and/or buying). Below you can find a table outlining all the different options.
Options
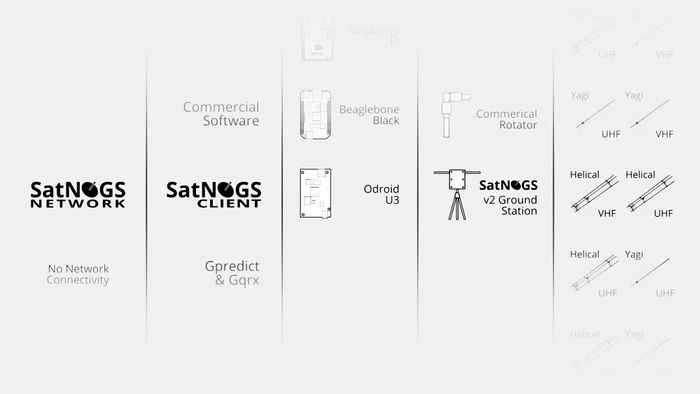
A satellite ground station is made up from different parts. The following diagram can help you select your setup based on your needs and/or your existing setup.
| Hardware | Software | Controller | Rotator | Radio | Antenna |
|---|---|---|---|---|---|
| Raspberry Pi 3 | SatNOGS Client | SatNOGS Controller | SatNOGS Rotator | SDR | Yagi |
| Linux Desktop | Rot2Prog | SPID Big RAS | Transceiver | Helical | |
| lsf-g5500 | Yaesu G5500 | Vertical | |||
| No rotator | Cross-Yagi |
Next steps
Once you have a ground station ready, you should go ahead and operate it! More info can be found on Operation wiki page.
